Please sign in to your account and activate your IP address. You will receive a SmartDNS address. Then, follow the steps below to complete the setup:
Note: It is advisable to save your original DNS settings before making any other changes. You may need them if you want to switch back to your original settings.
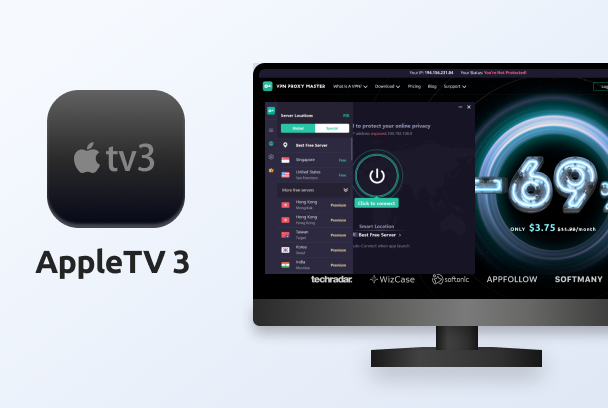
After completing the only requirement above, you can now head over to your AppleTV 3. The following steps will help you to apply the VPN Proxy Master SmartDNS via AppleTV 3:
Step 1 of 6: From the home screen of your AppleTV 3 – Select Settings
Step 2 of 6: Select General
Step 3 of 6: Select Network
Step 4 of 6: Select the Wi-Fi that Apple TV 3 is using and connect to the Internet
Step 5 of 6: Scroll down to Configure DNS and select Manual
Step 6 of 6: Input the VPN Proxy Master Smart DNS within the Configure DNS screen and confirm with Done
-Settings completed-
Additional settings:
a. Head back to the Settings menu of your Apple TV 3 and select iTunes store
b. Select Location
c. Scroll to and select United States(or the country for which the SmartDNS is for)
d. Head back to the main menu for Settings and select Sleep now.
e. After your Apple TV 3 is in Sleep Mode – disconnect the Apple TV 3 from the power supply. Your Apple TV 3 will pass and reconnect to the power supply within 15 seconds.
Now your Apple TV 3 is ready to start back up.