Please sign in to your account and activate your IP address. You will receive a SmartDNS address. Then, follow the steps below to complete the setup:
It is advisable to save your original DNS settings before making any other changes. You may need them if you want to switch back to your original settings.
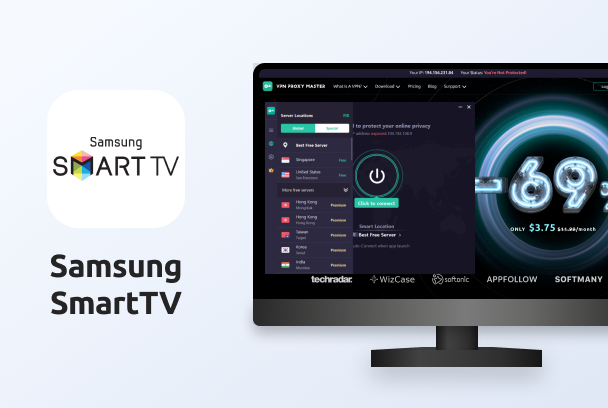
After completing the only requirement above, you can head to your Samsung SmartTV. The following steps will help you to apply the VPN Proxy Master SmartDNS via Samsung SmartTV:
Step 1 of 6: Press the Settings button on your Samsung SmartTV’s remote control.
*Note: the placement of the Settings button may vary from one remote control to another
a. For some remote control, the Settings button is located under the Volume button
b. For some remote control, the Settings button is located in the lower part of the remote control
Alternatively, the below buttons are available as a substitute for the Settings button:
1, Home button – Please head to the Settings menu in the lower-left corner
2, Source button – Please head to the Settings menu in the lower-left corner
Step 2 of 6: Select Network from the list of choices
Step 3 of 6: Network Status is the option that must be chosen from the available fields and allow the Connection verification to finalize.
Step 4 of 6: Select IP Settings
Step 5 of 6: Within the IP Settings menu, select DNS Setting and enter the DNS manually.
1, Primary DNS – Enter the Smart DNS that you could find in the Account Dashboard within My SmartDNS tab
2, Secondary DNS – please leave it blank
Step 6 of 6: Confirm with OK
Restart the Smart TV
-Settings completed-